Eyelash Application & Care Guide
Welcome to Smoked Peaches Beauty Corporation Lash Guide!
We’re here to help you master the art of effortless, beautiful lashes. In this guide, you’ll find helpful Do’s and Don’ts along with a simple step-by-step process—so you can achieve a perfect application, every single time.

Common Mistakes & How to Avoid Them
Applying false eyelashes can be tricky, but with the right techniques, you can achieve a stunning look. Here are some common mistakes and how to avoid them:
- Not using the right tools: Always use tweezers or lash applicator tools for better precision and ease of application.
- Applying glue incorrectly: Wait approximately 15-30 seconds after applying the glue until it becomes tacky. This ensures the lash stays in place and reduces movement.
- Incorrect Lash Size: Measure the lash to your eye and cut outer edges to ensure a perfect fit.

Essential Tools & Accessories
To achieve the best results with your S.P.B reusable eyelashes, we recommend the following tools and accessories:
- Lash Applicators: For precise placement.
- Tweezers: For handling and positioning the lashes.
- Lash Glue: High-quality adhesive to keep lashes secure.
- Lash Serum: To keep your natural lashes healthy and strong.

Step-by-Step Application Guide
Follow these steps for the best and most natural-looking results with your S.P.B reusable eyelashes:
- Preparation:
- Complete Eye Makeup: Apply all your eye makeup, including eyeliner and eyeshadow, before applying the false lashes.
- Prep Natural Lashes: Apply a coat of mascara to your natural lashes to help them blend with the falsies and to create a base for the glue to adhere to. (Optional)
- Bend the Lash Band: Gently bend the false lash band back and forth to make it more flexible.
- Measure and Trim: Hold the false lash strip against your eye to check the fit. If it's too long, trim the excess from the outer corner of the lash band, not the inner corner.
- Application:
- Apply Glue: Apply a thin, even layer of eyelash glue along the entire length of the false lash band.
- Wait for Tacky Glue: Allow the glue to sit for about 15 to 30 seconds, or until it becomes tacky, changing color.
- Position the Lash: With tweezers or lash applicator, look down into a mirror and place the center of the lash strip directly on your natural lash line.
- Press Into Place: Gently press the lash band down, getting as close to the root of your natural lashes as possible.
- Secure Corners: Tuck the inner and outer corners of the strip lash into place.
- Blend and Secure: Use the back of the tweezers to press the band firmly against your natural lash line.
- Finishing Touches:
- Pinch Lashes Together: Once the glue is completely dry, you can pinch your natural and false lashes together to merge them for a more seamless look.

Cleaning & Storage Tips
To prolong the lifespan of your S.P.B reusable eyelashes and maintain hygiene, follow these cleaning and storage tips:
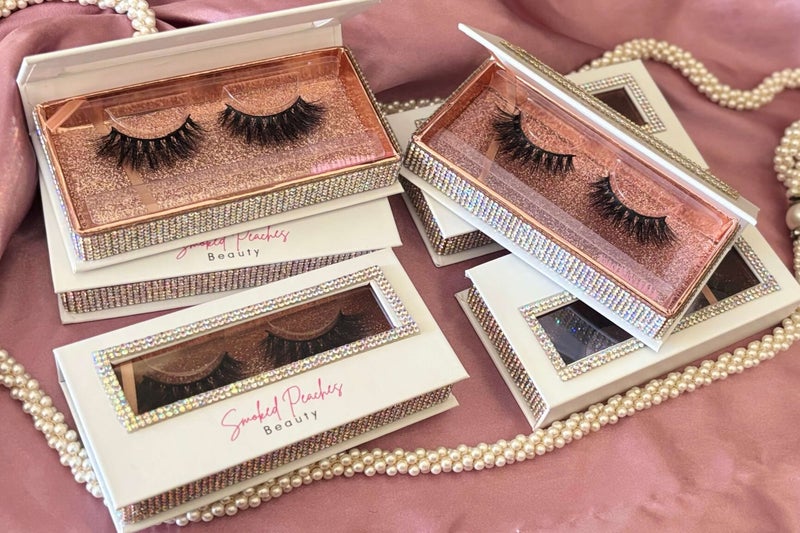
- Storage: Place lashes back in their diamond box after each use.
- Maintenance: Brush lashes in the box with a wand applicator to keep them neat and clean from debris.
- Glue Removal: When glue gets thick after a few uses, gently pull excess glue off with tweezers...GENTLY!
Explore Our Collection
Elevate your beauty with our premium collection of reusable eyelashes—crafted for over 15 wears and presented in exquisite, eco-conscious rhinestone packaging.
Proudly based in Edmonton, Alberta, Canada, our lashes combine sophistication and sustainability, making them the perfect complement for any occasion, from everyday elegance to your most glamorous events.